Boss Difficulty Ranking
Compare Stellar Blade bosses from easiest to hardest with practical difficulty notes, prep priorities, safe punish guidance, and links to focused boss guides.
Use the boss ranking as a preparation map, not a replacement for boss guides: easier fights teach timing, mid-tier fights test camera and recovery, and late bosses demand consistent parry, dodge, burst, and resource discipline.
Screenshot Timeline (2 key screenshots)
 View screenshotScreenshot evidence / not a video playerView all screenshots below
Fight plan
Boss rankings are most useful before a fight, not after you are already frustrated. Use this page to understand the type of wall coming next, then open the exact boss page for moves, prep, and punish windows. A ranking should help you choose the right preparation path, not replace the fight-specific answer.
2. Start with the direct answer
This Bosses article is designed for players who need the blocker solved first, not a slow recap of the whole game. The short answer is: Use the boss ranking as a preparation map, not a replacement for boss guides: easier fights teach timing, mid-tier fights test camera and recovery, and late bosses demand consistent parry, dodge, burst, and resource discipline. Use that answer immediately if you are standing at the objective, door, boss arena, reward menu, or collectible route. Then keep reading only when you need the surrounding timing, version note, screenshot proof, or cleanup order. This keeps the page useful on a second monitor or phone while the game is open.
3. How to use this ranking
Boss rankings are most useful before a fight, not after you are already frustrated. Use this page to understand the type of wall coming next, then open the exact boss page for moves, prep, and punish windows. A ranking should help you choose the right preparation path, not replace the fight-specific answer. The route table exists because most Stellar Blade mistakes happen when the answer is separated from timing. Start with "Identify the wall type" at "Before changing builds or grinding attempts" and confirm the expected result: "Learning, pressure, or consistency issue." Do not skip the note column on later steps, because version labels, quest state, and revisit timing often explain why a correct answer does not trigger yet.

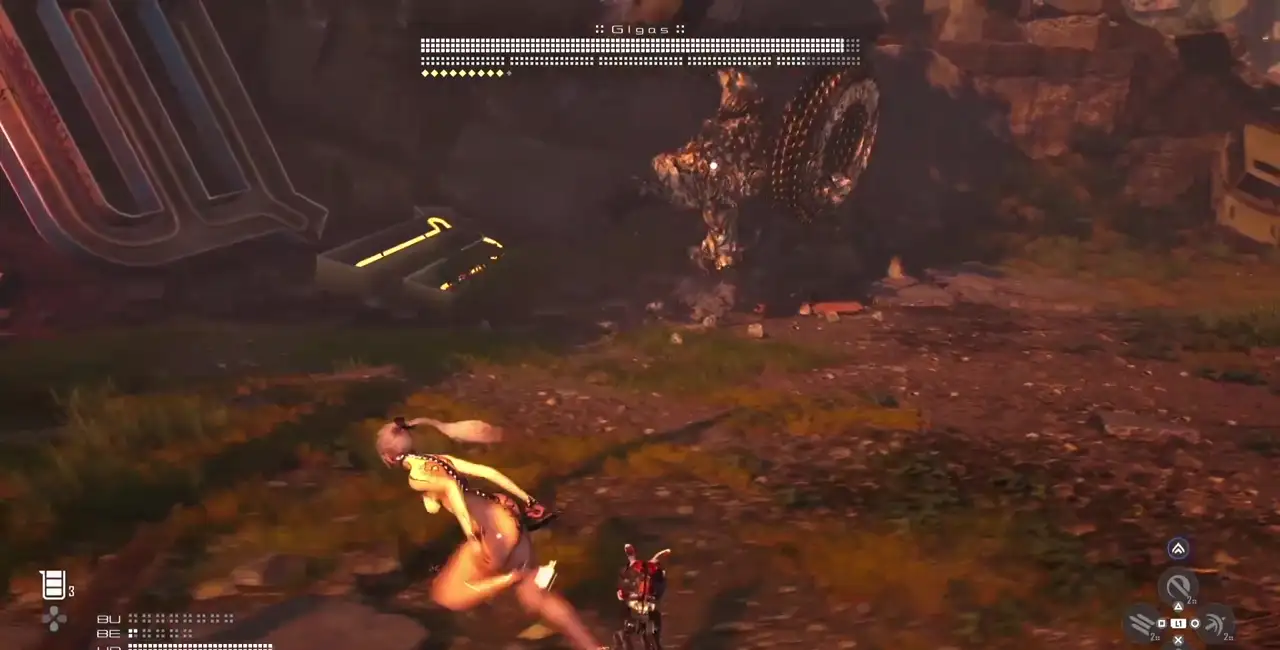
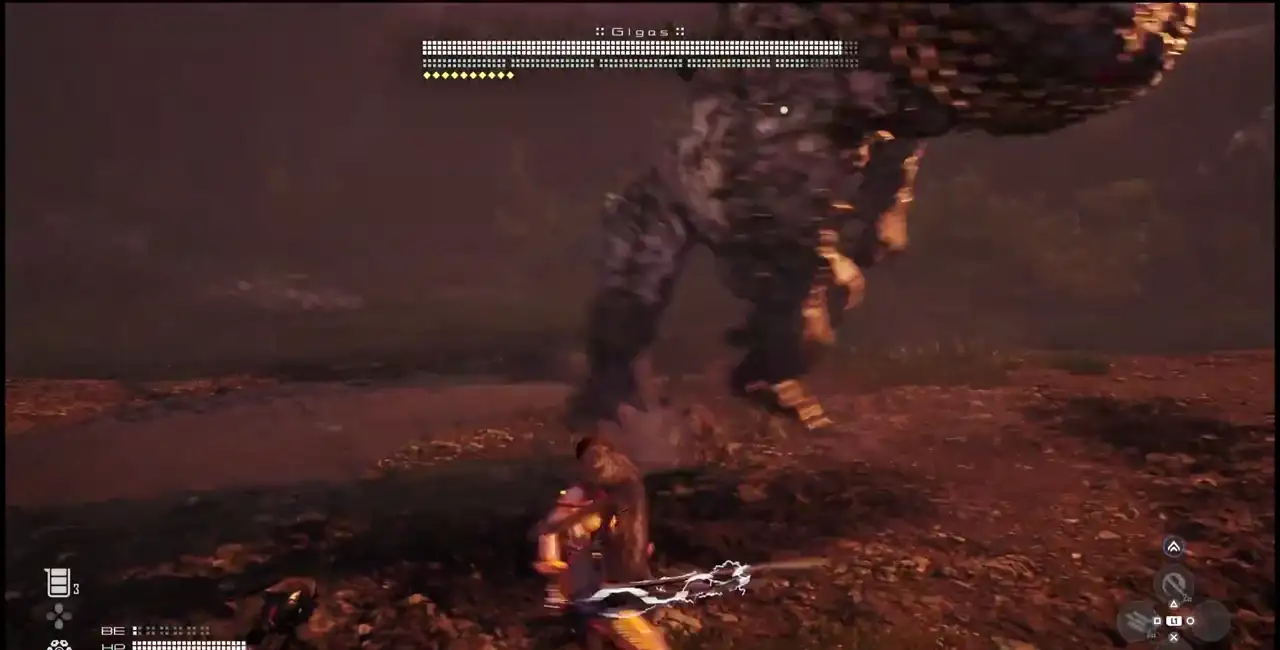
4. Use the video frames as visual proof
The guide turns long video material into short visual checkpoints. The first frame to compare is "Boss difficulty ranking overview" from "Stellar Blade - Every Boss Ranked from Easiest to Hardest Boss All Elite & Alpha Naytiba Tier List.mp4" around 00:00:52. The next useful frame is "Late boss ranking context", which helps confirm the follow-up objective, menu state, landmark, or reward screen. Instead of scrubbing through an entire walkthrough, match the screenshot, read the nearby note, and jump back into the game.
 Bosses
 Raven Boss
 Providence Boss
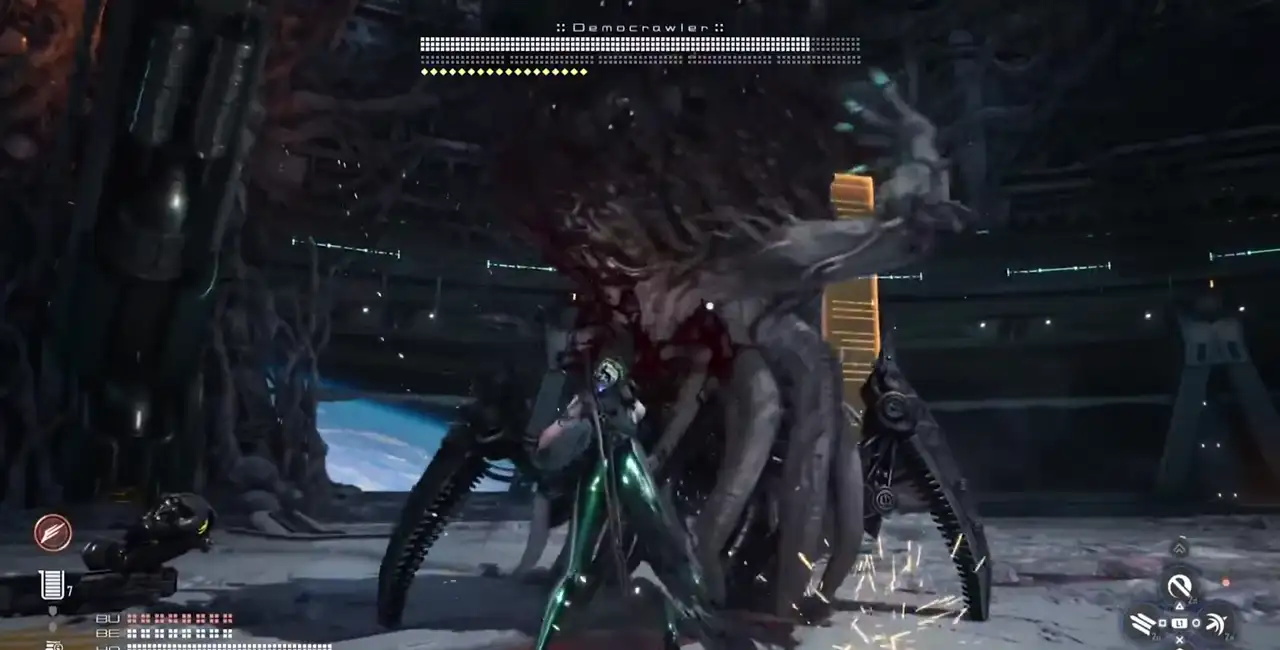 Democrawler Boss